Happy birthday B! I sure do love ya!
April 17, 2014
I can be flexible. As long as everything is exactly the way I want it, I'm totally flexible.
This cute guy turned 3! I can't even describe how much I love that this cutie pie is in my life. Boy oh boy does he love superheroes, swimming, and sweets.
February 12, 2014
You do know, honey, that garbage doesn’t actually talk at all unless it’s on Sesame Street.
Jeremy and I went to a yard sale and scored this beauty:
I was so excited to find such a cute chair. The seat of the chair was not is great shape though, so I decided to cover it. Here's how I did it. It was crazy simple!
At Walmart they sell a pack of foam that works perfect for chair cushions. I put the seat of the chair on the foam and cut the foam to size.
After, I draped the adorable fabric on top of the foam and the seat of the chair.
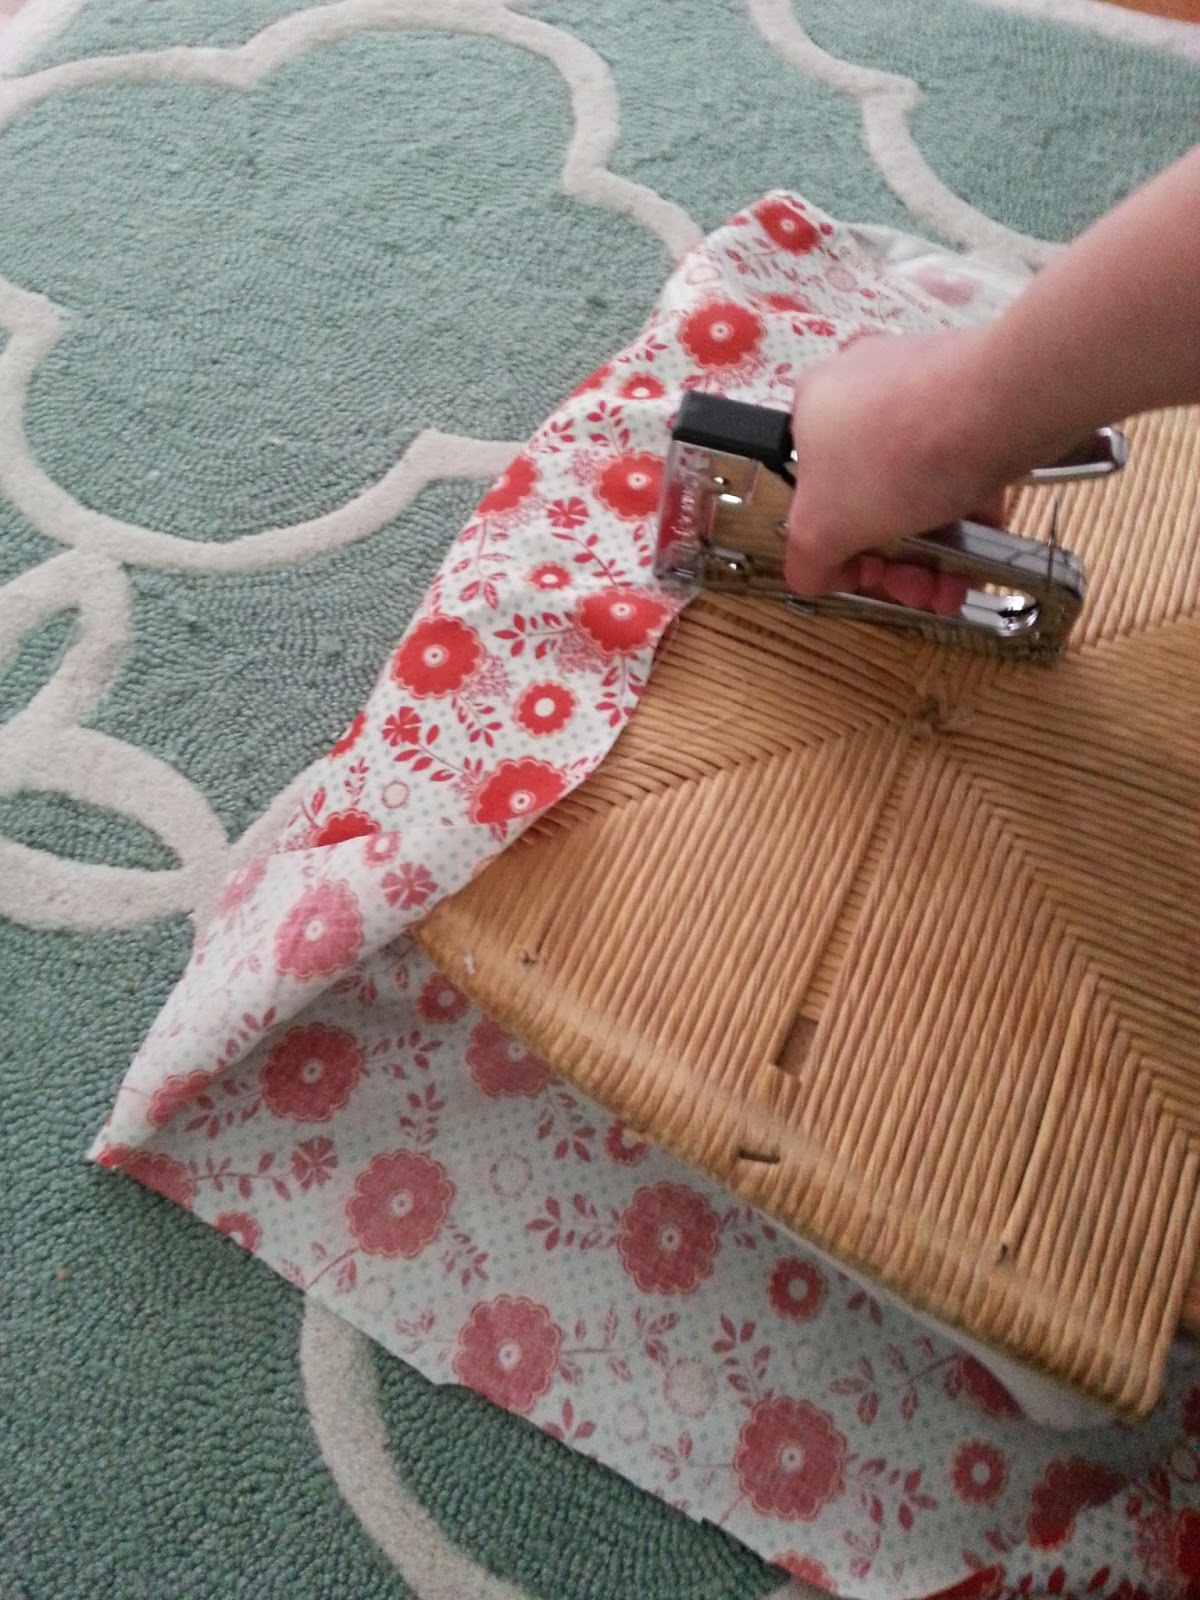
I turned it all upside down and stapled away, making sure that I pulled the fabric tight as I went.
Here's the finished project. It took me about a total of 15 minutes. Talk about a great/easy project!
I was so excited to find such a cute chair. The seat of the chair was not is great shape though, so I decided to cover it. Here's how I did it. It was crazy simple!
At Walmart they sell a pack of foam that works perfect for chair cushions. I put the seat of the chair on the foam and cut the foam to size.
After, I draped the adorable fabric on top of the foam and the seat of the chair.
I turned it all upside down and stapled away, making sure that I pulled the fabric tight as I went.
Here's the finished project. It took me about a total of 15 minutes. Talk about a great/easy project!
December 18, 2013
When I have made one zillion dollars from my rocket gum invention you will eat those words! Or rather you will chew those words and blow a bubble with them.
I love Christmas time! Teaching makes it even better. I love being around excited kiddos that help spread the Christmas spirit. This year I decided to involve an Elf on the Shelf in my classroom.
Needless to say, it was a great way to add a little fun to the Christmas season, and it also was a great classroom management tool!
He started out on our Christmas tree with his book wrapped underneath. My students loved it! We named him Elfis. Here are some places that he decided to hide throughout the month:
The reading room with a book of Christmas jokes.
Making snowflakes by the school supplies.
Making fun of the teacher (a definite crowd pleaser).
Dressed up like Harry Potter flying on his paintbrush.
Playing Candyland with Mr. Sock Monkey.
Hanging around the lunch count.
Some students were getting a little stinky and were choosing not to believe. Elfis didn't like that and decided to take their pencils and put them in the crab tank.
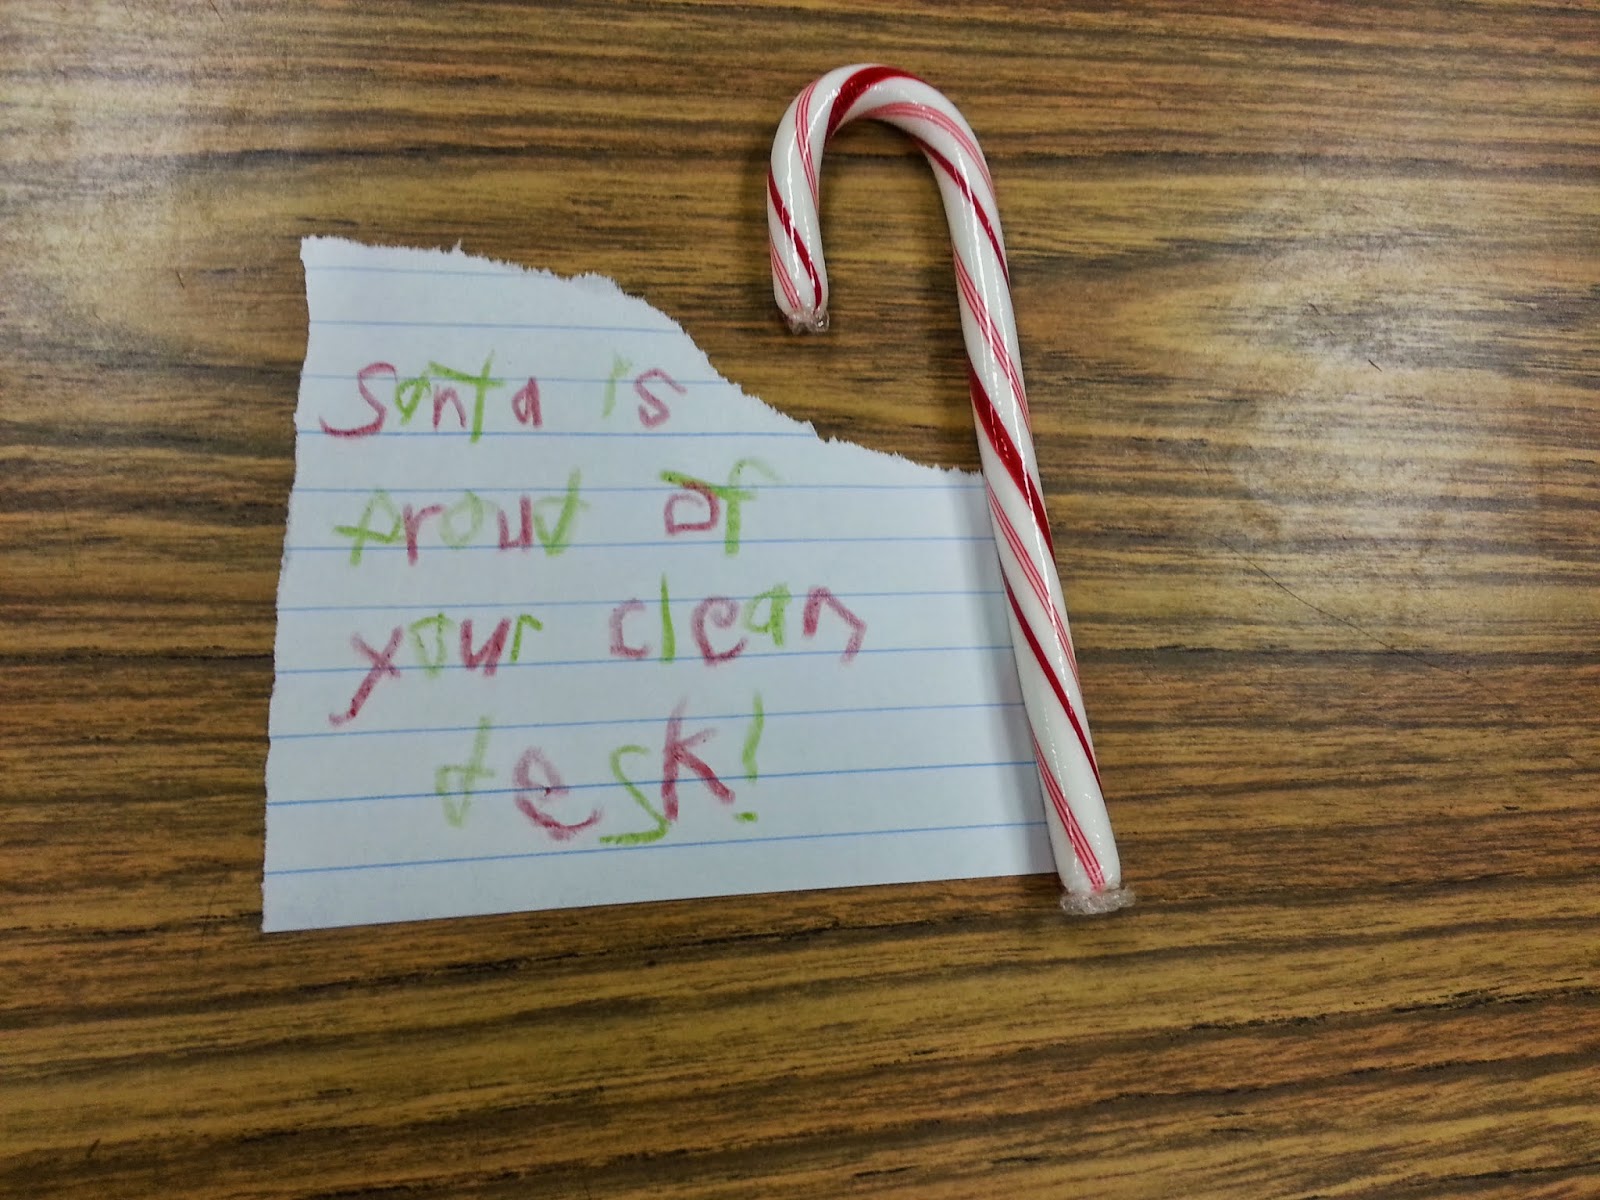
He also helped keep the classroom clean.
![]() |
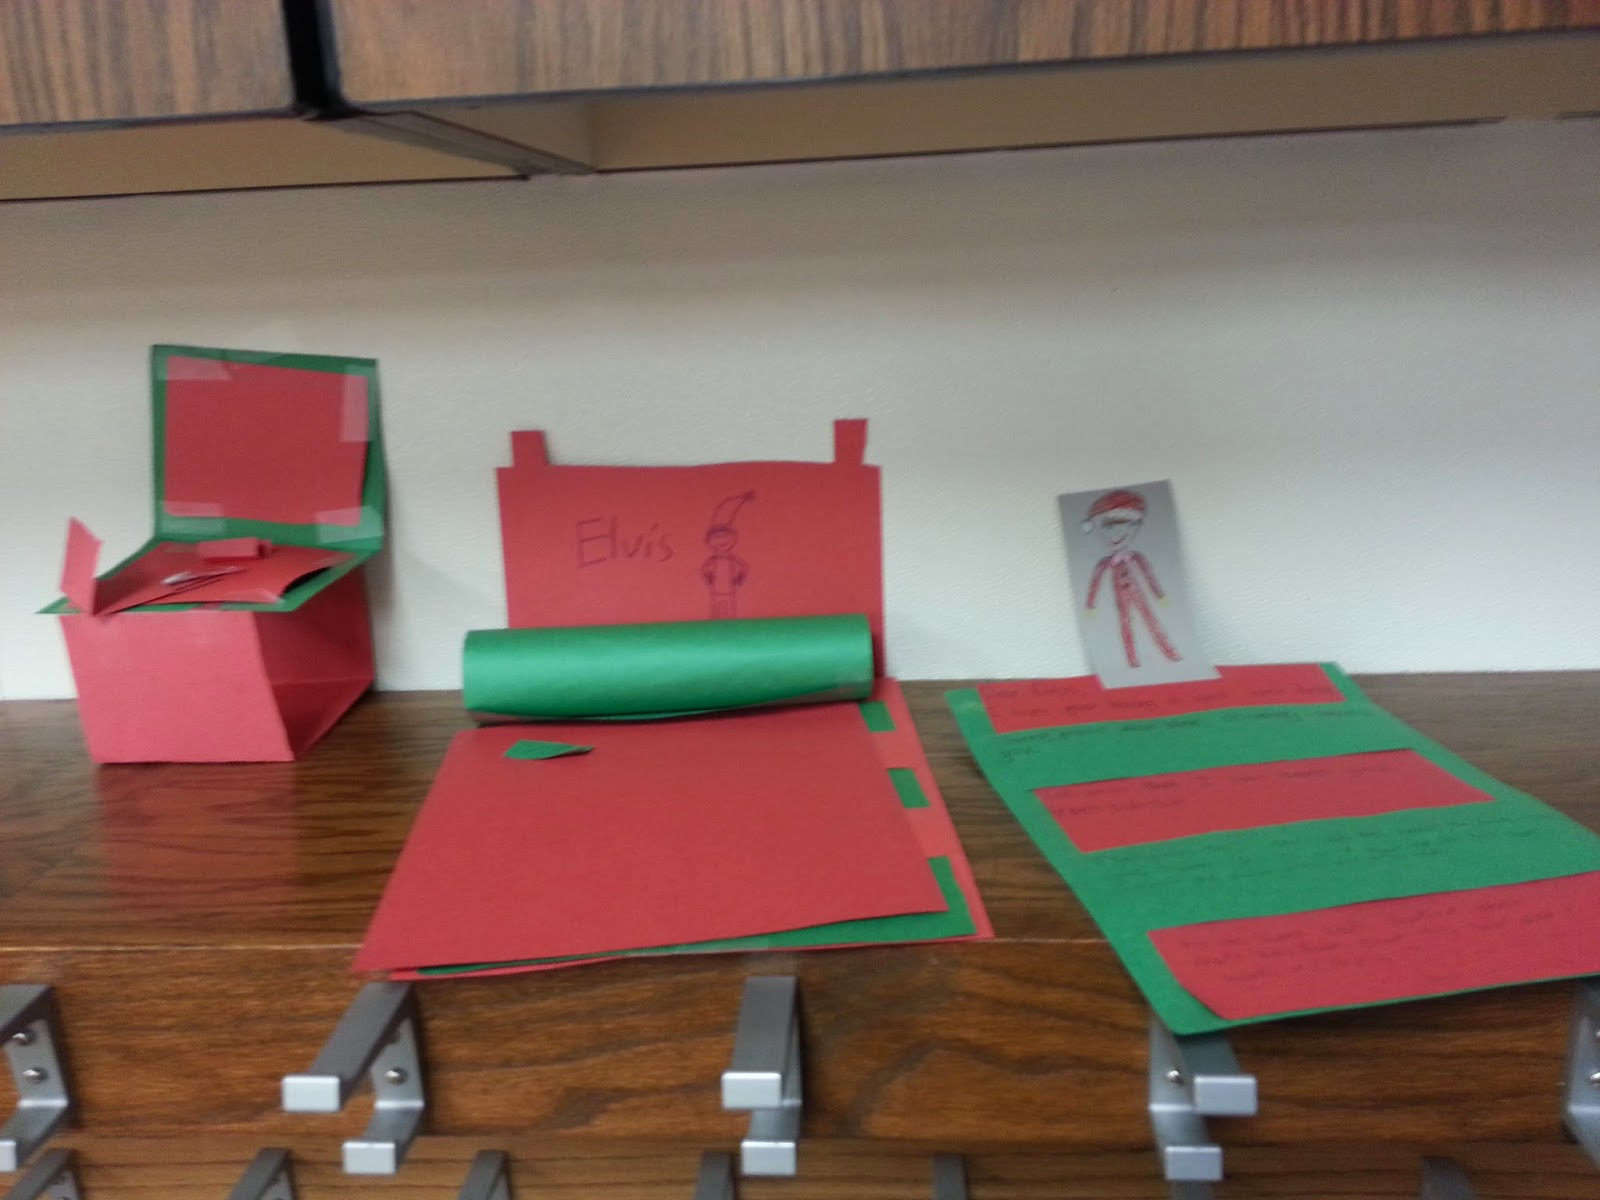
Elfis was so loved in our classroom that the students even made things for him.
|
![]() |
| He loved his bed. |
November 18, 2013
Um, excuse me, hi. I am not seeing my coat here, and it was very cute and it was on sale, and I will fling myself off a building if I lose it.
My sister Rylee is officially married! It was a beautiful day, and a lot of fun. We are so excited to have Tyler as a part of our family.
Their sealing was amazing, and the reception was gorgeous. Here are some pics. I keep telling my mom she needs to start her own wedding planning company.
Happy wedding Ry and Ty!
October 24, 2013
Well, you know my babbling capabilities are endless.
We did it! We bought a house and officially moved in! I didn't realize how steep the stairs were until I had to haul box after box up them. We love the house, we love the neighborhood, and we love our view! We can see out to Utah Lake from our master bedroom.
It's always weird moving into a new place. It takes awhile to realize that it really is your new home. My tried and true way of breaking in a new home is baking in it. For some reason, once you have baked in the kitchen the place feels like it is yours. To break in our new home I made some of my favorite cookies. This is a recipe I stole from my sister Jessica and her roommate Rachel. They came up with this concoction years ago (seeing as Jessica has been married for a few some-odd years), and it has stood the test of time. The best part of this recipe is how simple it is.
Jessica and Rachel's Lemon Coconut Cookies
1 box white cake mix
1/2 cup flour
1/2 cup oil
2 eggs
2 tsp coconut extract
1 can lemon frosting
Preheat the oven to 350. Mix together dry ingredients. Add oil, eggs, and coconut extract. Roll into 1 inch balls and place on baking sheet. Bake for 10 minutes. Once cool, top with lemon frosting.
September 3, 2013
I managed to find Uno and Checkers, and Battleship and most of the pieces of Candyland. Which I figure, we can mix together to create a fabulous new game, Candyship Battleland. War never tasted so good!
With our apartment contract coming to an end in October, we have been on the mad search to find a new place to live. Yes, we could just renew our contract, but we are tired of living in an apartment. We have decided that we want to become homeowners... HOMEOWNERS! We have been scouting everywhere to try to find the best place in our price range. We found a really nice town home, which we put a deposit down on and were going to buy, but the HOA was being ridiculous. We decided if we are already having problems with the HOA and we haven't even moved in yet, that it can only get worse. We pulled out of that purchase quickly. We finally actually found us a home. It is an actual house. Not a town home, not a twin home, not a condo... a real-live house! We are ecstatic! We move in mid October. I am so excited to finally be able to make our living quarters actually ours. We can paint the walls; heck, we could tear down walls if we wanted to. Don't you worry, I will post projects as I do them throughout the house. As for today though, I am going to share with you a golden recipe. This is a recipe a friend of mine gave me. She lived in Italy for almost 2 years, and it is a recipe she picked up there. It is legit and delicious. It can be a little time consuming though, so I will also include my quick version that I make more frequently than the full-blown recipe.
First you will want to grate the onion, zucchini, and carrot. Drizzle with olive oil and saute for a few minutes until the onion is clear and the carrot and zucchini are soft.
Add the ground beef. Brown the beef with the veggies.
Once the ground beef is browned add in the rest of the ingredients for the marinara sauce. Allow to simmer for at least 1 hour. Longer is better though. One Sunday I let it simmer for 4 hours and it tasted divine! This sauce can be quite messy, so if you have a splatter guard I would use it. I don't, so I will usually just put the lid on half way so the steam can still exit, but it helps save my stove and wall from being covered with red sauce.
Start making the white sauce when you are ready to assemble the lasagna. First, start by melting the butter in a saucepan. Add in the flour and stir to combined with the butter. Slowly add in the milk. Continuously whisk to keep the white sauce from burning. Once it starts to boil, turn it down to a simmer and stir for about 5 minutes until the sauce has thickened.
Once the white sauce is ready, you can start assembling your lasagna. Preheat your oven to 350 degrees and pull out a 9x13 glass pan. Start with a thin layer of marinara sauce at the bottom of the pan. Lay a layer of lasagna noodles on top. Keep the noodles all going the same way. I like to use the oven ready noodles so I don't have to boil them, but any type of lasagna noodle will work. Break or cut noodles to fit in the pan.
Spread another layer of marinara sauce on top of the noodles. Then drizzle a layer of white sauce on top of the red sauce.
Sprinkle some mozzarella and Parmesan cheese on top of that, then prepare for your next layer. Lay your noodles facing the other way, then continue with your sauce layering (red, white, mozzarella, Parmesan).
Once you run out of space, or sauce make sure that your final layer is the mozzarella and Parmesan cheese.
Bake it in the oven for 40-45 minutes or so until the sauce is bubbling, and the cheese is melted. Serve with a fresh green salad, and breadsticks. Enjoy!
Simplified Version:
To simplify this recipe I just use bottled spaghetti sauce instead of making the marinara sauce. I still make the white sauce (it makes or breaks this recipe). I do everything else the same in the recipe, but sometimes I leave out the ground beef and it still tastes amazing. Since our family is quite small (just me and my main man) I usually bake it in a 8x8 pan. I use one bottle of spaghetti sauce and I half the white sauce recipe. This recipe reheats great!
Bre's Italian Lasagna
(I apologize for the pictures. I'm working on my food pics.)
First, you need to start making the marinara sauce. This is the part the takes the longest. The longer you let it simmer, the better it tastes. Here are some of the essential ingredients:
Add the ground beef. Brown the beef with the veggies.
Once the ground beef is browned add in the rest of the ingredients for the marinara sauce. Allow to simmer for at least 1 hour. Longer is better though. One Sunday I let it simmer for 4 hours and it tasted divine! This sauce can be quite messy, so if you have a splatter guard I would use it. I don't, so I will usually just put the lid on half way so the steam can still exit, but it helps save my stove and wall from being covered with red sauce.
Start making the white sauce when you are ready to assemble the lasagna. First, start by melting the butter in a saucepan. Add in the flour and stir to combined with the butter. Slowly add in the milk. Continuously whisk to keep the white sauce from burning. Once it starts to boil, turn it down to a simmer and stir for about 5 minutes until the sauce has thickened.
Once the white sauce is ready, you can start assembling your lasagna. Preheat your oven to 350 degrees and pull out a 9x13 glass pan. Start with a thin layer of marinara sauce at the bottom of the pan. Lay a layer of lasagna noodles on top. Keep the noodles all going the same way. I like to use the oven ready noodles so I don't have to boil them, but any type of lasagna noodle will work. Break or cut noodles to fit in the pan.
Spread another layer of marinara sauce on top of the noodles. Then drizzle a layer of white sauce on top of the red sauce.
Sprinkle some mozzarella and Parmesan cheese on top of that, then prepare for your next layer. Lay your noodles facing the other way, then continue with your sauce layering (red, white, mozzarella, Parmesan).
Once you run out of space, or sauce make sure that your final layer is the mozzarella and Parmesan cheese.
Bake it in the oven for 40-45 minutes or so until the sauce is bubbling, and the cheese is melted. Serve with a fresh green salad, and breadsticks. Enjoy!
Bre's Italian Lasagna Recipe
Marinara Sauce
1 carrot
1 zucchini
1 med. onion
1 lb. ground beef
2-28 oz. cans tomato sauce
1 tsp basil
1 tsp bay leaves
1 tsp salt
Grate the veggies into a large pot. Saute until onion is clear and zucchini and carrot are tender. Add ground beef and brown. Once beef is browned, add tomato sauce, basil, bay leaves, and salt. Bring to a boil, then allow to simmer for at least one hour.
White sauce
5 T butter
1/2 cup flour
3 1/2 cups milk
dash of salt
Melt the butter in a saucepan. Add in the flour and stir to combined with the butter. Slowly add in the milk. Salt to taste. Continuously whisk to keep the white sauce from burning. Once it starts to boil, turn it down to a simmer and stir for about 5 minutes until the sauce has thickened.
Lasagna Assembly
Oven Ready Lasagna Noodles
Mozzarella Cheese
Parmesan Cheese
Marinara Sauce
White Sauce
Preheat oven to 350 degrees. Put a thin layer of marinara sauce at the bottom of a 9x13 glass pan. Lay a layer of lasagna noodles on top. Keep the noodles all going the same way. I like to use the oven ready noodles so I don't have to boil them, but any type of lasagna noodle will work. Break or cut noodles to fit in the pan. Spread another layer of marinara sauce on top of the noodles. Then drizzle a layer of white sauce on top of the red sauce. Sprinkle some mozzarella and Parmesan cheese on top of that, then prepare for your next layer. Lay your noodles facing the other way, then continue with your sauce layering (red, white, mozzarella, Parmesan-- keep alternating directions with lasagna noodles). Once you run out of space, or sauce make sure that your final layer is the mozzarella and Parmesan cheese. Bake it in the oven for 40-45 minutes or so until the sauce is bubbling, and the cheese is melted. Serve with a fresh green salad, and breadsticks. Enjoy!
Simplified Version:
To simplify this recipe I just use bottled spaghetti sauce instead of making the marinara sauce. I still make the white sauce (it makes or breaks this recipe). I do everything else the same in the recipe, but sometimes I leave out the ground beef and it still tastes amazing. Since our family is quite small (just me and my main man) I usually bake it in a 8x8 pan. I use one bottle of spaghetti sauce and I half the white sauce recipe. This recipe reheats great!
July 16, 2013
When you start a forest fire unintentionally, it's still your fault
I feel as though today was a pretty successful day. I ran a bunch of errands, including a trip to Hobby Lobby where I got a bunch of stuff to make cards. I decided why buy cards when I can make them. Here's what I've created so far:
I showed them to Jeremy when he got home. He couldn't stop laughing at the "Hello, how's it going" and the "Happy B-Dizzle" card. His direct quote was, "We're never buying cards again. I also made a delicious dinner tonight. I found a blog with a bunch of healthy recipes on it. Normally I'm weary of healthy recipes because they have a lot of things I don't like in them or they are very time intensive, but this blog has great recipes that are really easy to make. I made her 3 Cheese Lasagna Roll-ups last night, and I made her Chicken Enchiladas tonight. Both were delightful. The website is: www.eat-yourself-skinny.com/ Here's the recipe for the chicken enchiladas:
For the chicken:
1 tsp. vegetable oil
In a medium saucepan, spray oil and saute garlic. Add green chilis, chipotle seasoning, cumin, chicken broth, tomato sauce, salt and pepper. Bring to a boil. Reduce the heat to low and simmer for 5-10 minutes. Set aside until ready to use.
Preheat oven to 400 degrees.
Heat the vegetable oil in a medium skillet over medium-high heat. Saute onions and garlic on low until soft, about 2 minutes. Add chicken, salt, cilantro, cumin, oregano, chipotle seasoning, tomato sauce, chicken broth, and cook 4 to 5 minutes. Remove from heat.
**Note: I'm not a huge fan of shredded chicken in enchiladas, burritos, etc. so I diced my chicken. I also sauted my chicken with the spices and oil to get the flavor in it while it cooked instead of putting it in precooked like the recipe calls for.
I showed them to Jeremy when he got home. He couldn't stop laughing at the "Hello, how's it going" and the "Happy B-Dizzle" card. His direct quote was, "We're never buying cards again. I also made a delicious dinner tonight. I found a blog with a bunch of healthy recipes on it. Normally I'm weary of healthy recipes because they have a lot of things I don't like in them or they are very time intensive, but this blog has great recipes that are really easy to make. I made her 3 Cheese Lasagna Roll-ups last night, and I made her Chicken Enchiladas tonight. Both were delightful. The website is: www.eat-yourself-skinny.com/ Here's the recipe for the chicken enchiladas:
Skinny Chicken Enchiladas
For the sauce:
2 cloves of garlic, minced
1 can diced green chilis
1-1/2 cups tomato sauce
1 tsp. southwest chipotle seasoning (Mrs. Dash)
1/2 tsp. ground cumin
3/4 cup fat-free chicken broth
Salt and fresh pepper to taste
For the chicken:
1 tsp. vegetable oil
2 chicken breasts, cooked and shredded
1 cup diced onion
2 cloves of garlic, minced
1/4 cup fresh cilantro
Salt
1 tsp. cumin
1/2 tsp. dried oregano
1 tsp. southwest chipotle seasoning (Mrs. Dash)
1/3 cup chicken broth
1/2 cup tomato sauce
8 (6-inch) reduced carb whole wheat flour tortillas
1 cup shredded low-fat Mexican cheese
Nonstick cooking spray
In a medium saucepan, spray oil and saute garlic. Add green chilis, chipotle seasoning, cumin, chicken broth, tomato sauce, salt and pepper. Bring to a boil. Reduce the heat to low and simmer for 5-10 minutes. Set aside until ready to use.
Preheat oven to 400 degrees.
Heat the vegetable oil in a medium skillet over medium-high heat. Saute onions and garlic on low until soft, about 2 minutes. Add chicken, salt, cilantro, cumin, oregano, chipotle seasoning, tomato sauce, chicken broth, and cook 4 to 5 minutes. Remove from heat.
Spray a 13 by 9-inch glass baking dish with non-stick spray. Put 1/3 cup chicken mixture into each tortilla and roll it. Place in baking dish seam side down. Top with sauce and cheese. Cover with foil and bake in the oven on the middle rack for 20-25 minutes. Top with scallions if desired and enjoy!
Subscribe to:
Posts (Atom)